Get this deal! Call now.
Speak with a vehicle protection plan specialist and get $300 off any new contract instantly.
Call 866-678-4172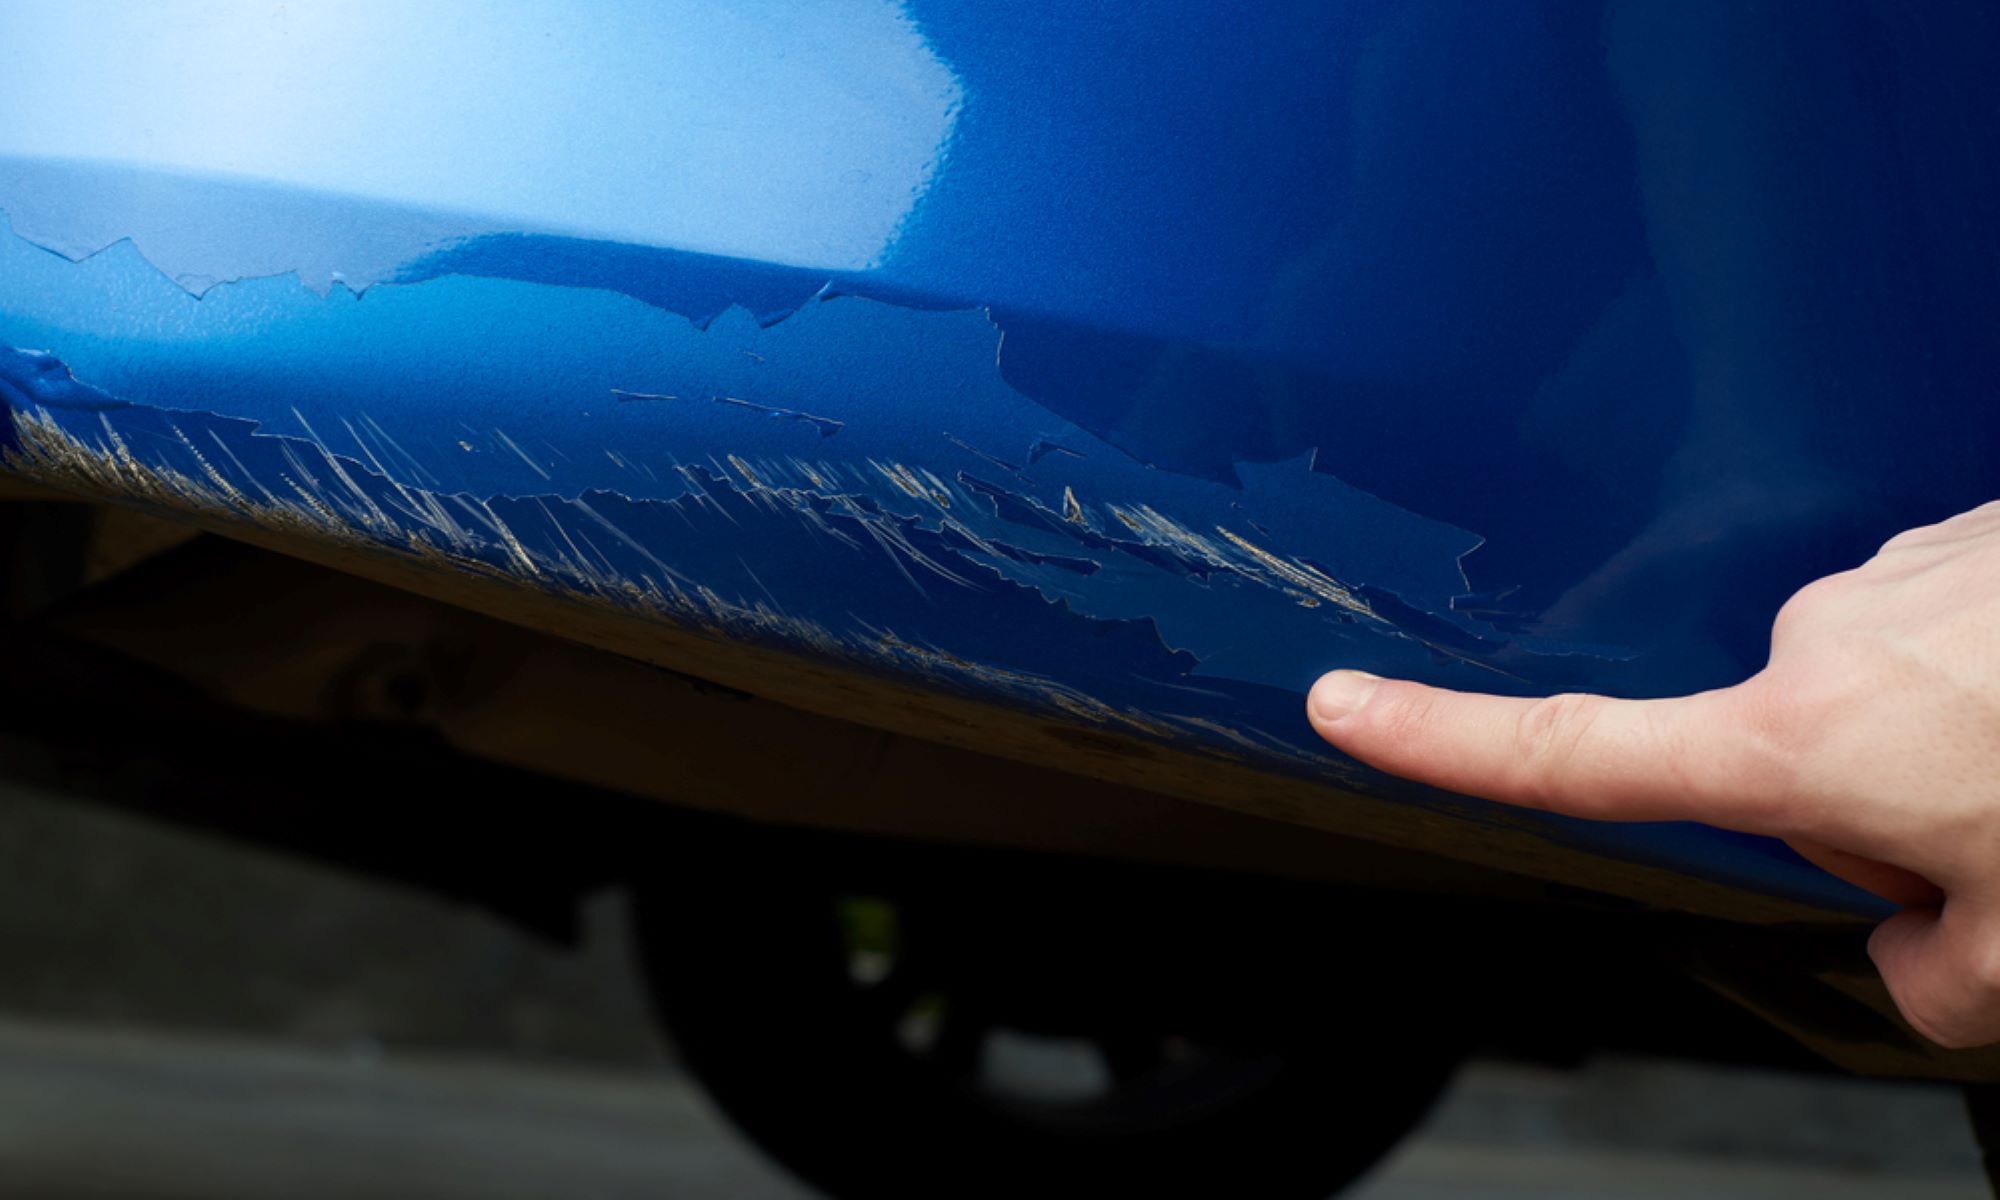
Picture this: you just spent minutes perfecting your parallel parking so that you’re just close enough to the curb and have just enough distance from the cars in front and behind you. You go out, do your errands and come back to your car. The cars ahead of you and behind you are gone, giving you ample room to leave the spot. Unfortunately, upon closer inspection, it seems the other cars left a little something: your bumpers have been SCRATCHED, KNICKED, DENTED. For such a small cosmetic blemish, getting it fixed turns out to be as costly as a full on-repair of something on your car.
There are ways to save a little bit and a way to perform a not-so quick-fix as a do it yourself project.
So yes, sprucing up your damaged bumpers involves a little effort in grinding, sanding, sculpting and painting. But figuring those steps out WILL save you.
Want to Save THOUSANDS on Auto Repairs? Get Endurance!
FREE ONLINE QUOTE
Too many vehicle owners end up heading to their local auto parts store for some really cheap body filler and a can of what they think is matching spray paint. This is a bad idea.
Over the years the making of auto body parts has changed and thus you, the vehicle owner will need to adjust. It is a whole new set of supplies you need to gather in terms of fixing painted plastic/carbon fiber parts as opposed to the metal that used to be used to make bumpers.
There are too many companies to name that specialize in DIY repair accessories for scratches and bumpers. What you need is the following (at the very least):
Want to Save THOUSANDS on Auto Repairs? Get Endurance!
FREE ONLINE QUOTE
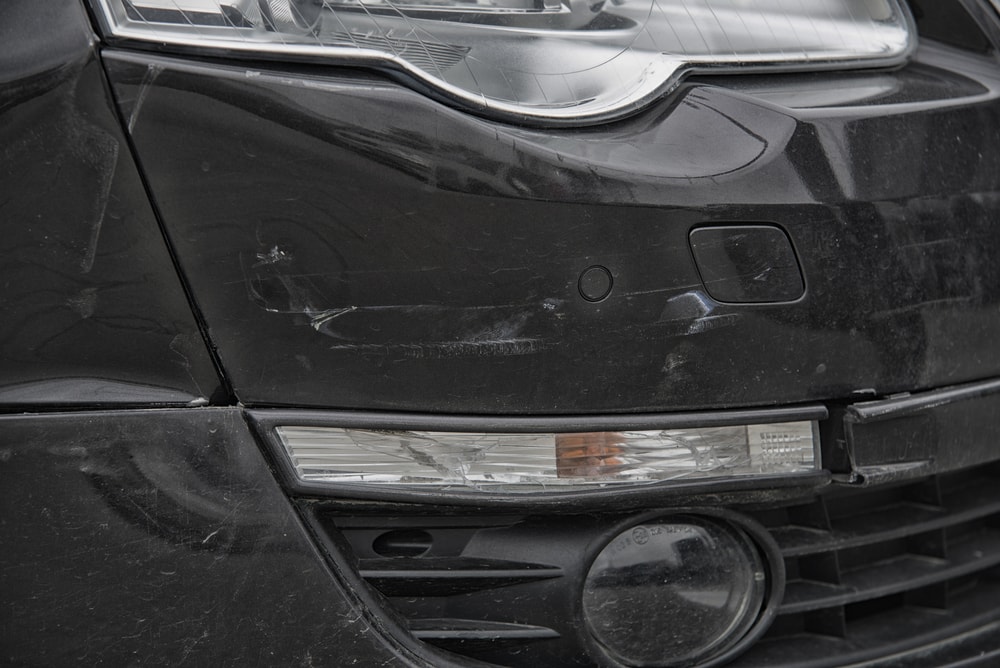
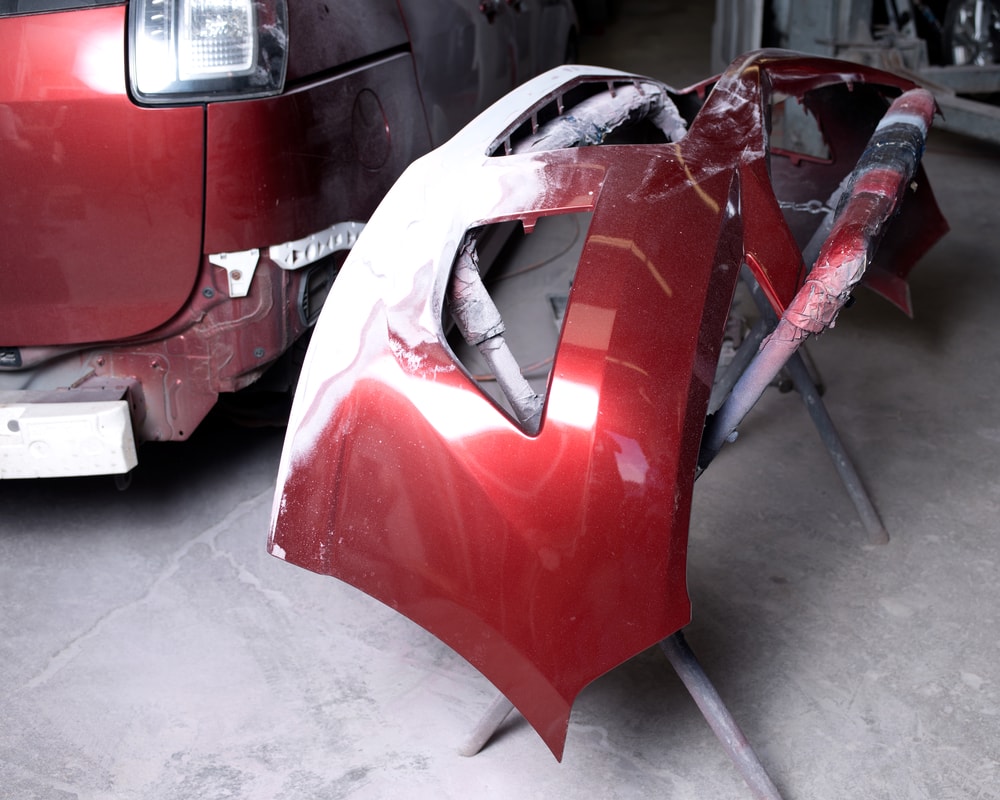
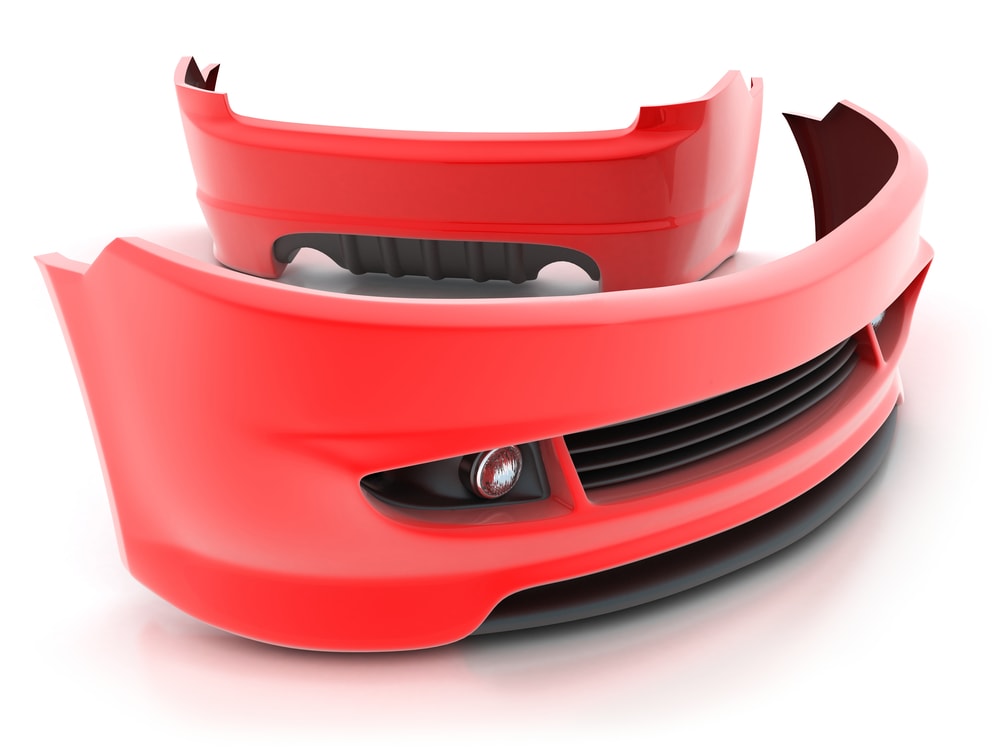
What’s interesting to note is the fact that when referring to a bumper you’re not actually talking about the part of the car that protects the front and rear frame of your car. The actual “bumper” part of a front or rear bumper is what is hidden beneath that plastic or sheet metal that is prone to nicks and scratches. The thing is that the plastic covering was in fact designed for the express purpose of deflecting and deforming upon impact.
Ok, so you need to get that panel/covering off first.
On most modern cars there are screws behind metal caps near the trunk latch, as well as screws under the lights and at the wheel wells. After removing those Once they were removed, we were able to slide the bumper’s tabs off a number of slots in the rear quarter panels. Look for screws or bolts under the trunk carpeting between the wheel and the rear bumper.
Once it’s off, it is some for what Popular Mechanics refers to as the “Fascia Facelift.”
Work in a warm, dry place. Keep in mind that no two bumpers are made the same way. Check the label inside to identify the type of plastic.
The above materials tend to smear when ground or machine sanded.
With that out of the way, it is time to choose your filler. Different fillers react to different materials and most of the time they will be labeled as such. As with most things cars: compatibility is important.
Want to Save THOUSANDS on Auto Repairs? Get Endurance!
FREE ONLINE QUOTE
Ok with that out of the way…
No matter what plastic your “fascia” is or what filler you use the steps remain the same:
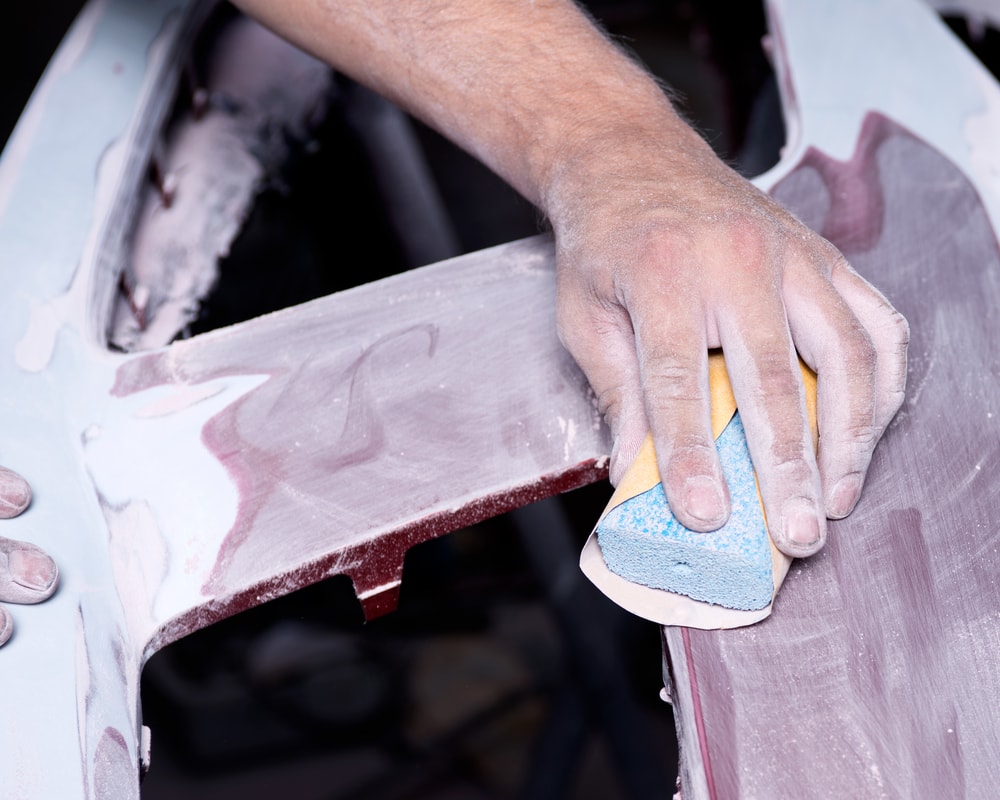
After the material has hardened, look towards the front of the fascia and remove any tape. With 80-grit sandpaper, sand off any excess material that has squeezed through. After you fill the cut or tear and any low spots in the front of the fascia with the appropriate repair material be sure to squeegee it.
When all is done, use a light skim coat of repair material for pits and surface imperfection. This will restore the original contour before you finish sand with wet 400-grit paper.
It will probably take two coats to restore contour properly.
Want to Save THOUSANDS on Auto Repairs? Get Endurance!
FREE ONLINE QUOTE
Congratulations, you’ve repaired your “bumper!” Give yourself a pat on the back.
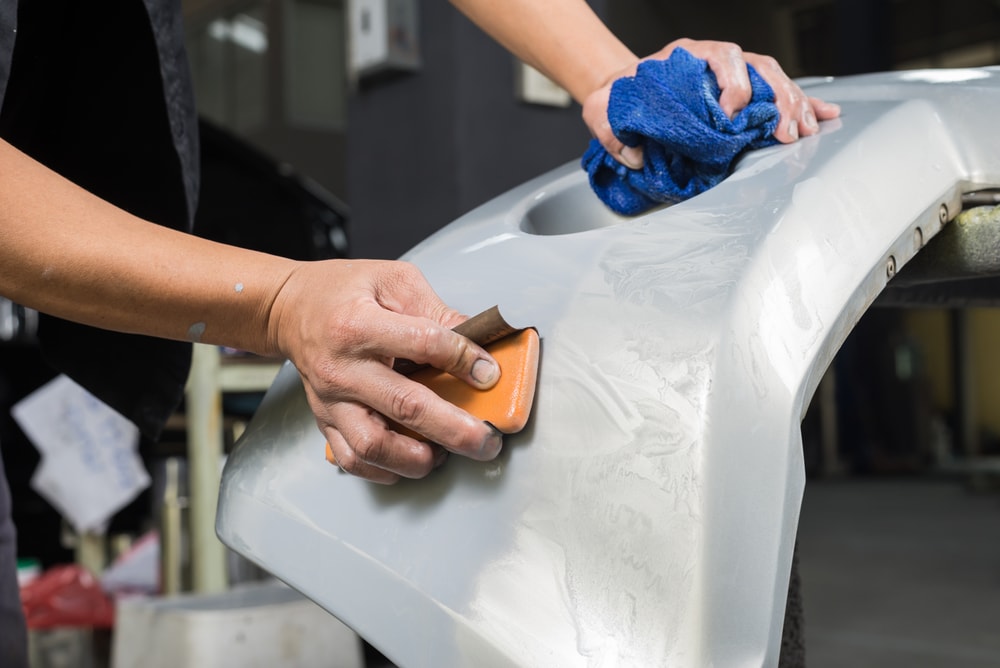
Now here’s the hard part: painting.
Eventually, you will spray the bumper with a basecoat. Keep in mind that first, you have to wet sand it and then wipe the area with a tack rag in case of debris or dust.
Want to Save THOUSANDS on Auto Repairs? Get Endurance!
FREE ONLINE QUOTE
NOW you can spray the paint according to the manufacturer’s instructions. Repeat until the thing is covered completely and evenly. After the base is dry, mix the clear coat with a hardener before applying two medium clearcoats, allowing each to dry on their own.
And that’s it. You’re done. Leave it overnight before re-installing it and then using a buffer to remove imperfections.
Fluctuating temperatures can have a dramatic impact on your vehicle’s performance. Just like you winterize your vehicle when the temperatures begin to drop, it is equally important to prepare for..
Taking care of maintenance items on your vehicle is one of the most important tasks a Kia Soul driver – or any car owner – needs to remember. While maintenance..
As a car owner, your biggest responsibility is keeping your vehicle in good condition. Regular maintenance and scheduled service will go a long way toward keeping your car running smoothly..
Your protection is our top priority. Your quote is in progress and you will
receive a confirmation
email shortly.

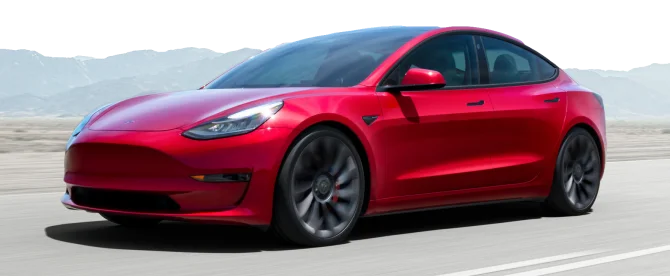
We're here to make sure you get the most comprehensive EV protection. That's why we've partnered with Xcelerate Auto to offer you transparent and dependable Tesla coverage.
Want us to contact you about XCare coverage for your Tesla?

Your protection is our top priority. Your quote is in progress and you will
receive a confirmation
email shortly.

Speak with a vehicle protection plan specialist and get $300 off any new contract instantly.
Sign up and get $300 off your new contract!
By clicking the button, you consent to Endurance using automated technology to call, email, and text you using the contact info above, including your wireless number, if provided, regarding auto protection or, in California, mechanical breakdown insurance. You also agree to the Endurance Privacy Policy and Terms and Conditions. Consent is not a condition of purchase, and you can withdraw consent at any time. Message and data rates may apply.
Speak with a vehicle protection plan specialist and get $300 off any new contract instantly.
Call 866-678-4172
Simply fill out the information below and we will follow up fast with your free no-obligation quote.
By clicking the button, you consent to Endurance using automated technology to call, email, and text you using the contact info above, including your wireless number, if provided, regarding auto protection or, in California, mechanical breakdown insurance. You also agree to the Endurance Privacy Policy and Terms and Conditions. Consent is not a condition of purchase, and you can withdraw consent at any time. Message and data rates may apply.

Alex has worked in the automotive service industry for over 20 years. After graduating from one of the country’s top technical schools, he worked as a technician achieving a Master Technician certification. He also has experience as a service advisor and service manager. Read more about Alex.