Get this deal! Call now.
Speak with a vehicle protection plan specialist and get $300 off any new contract instantly.
Call 866-678-4172
or scan the code below
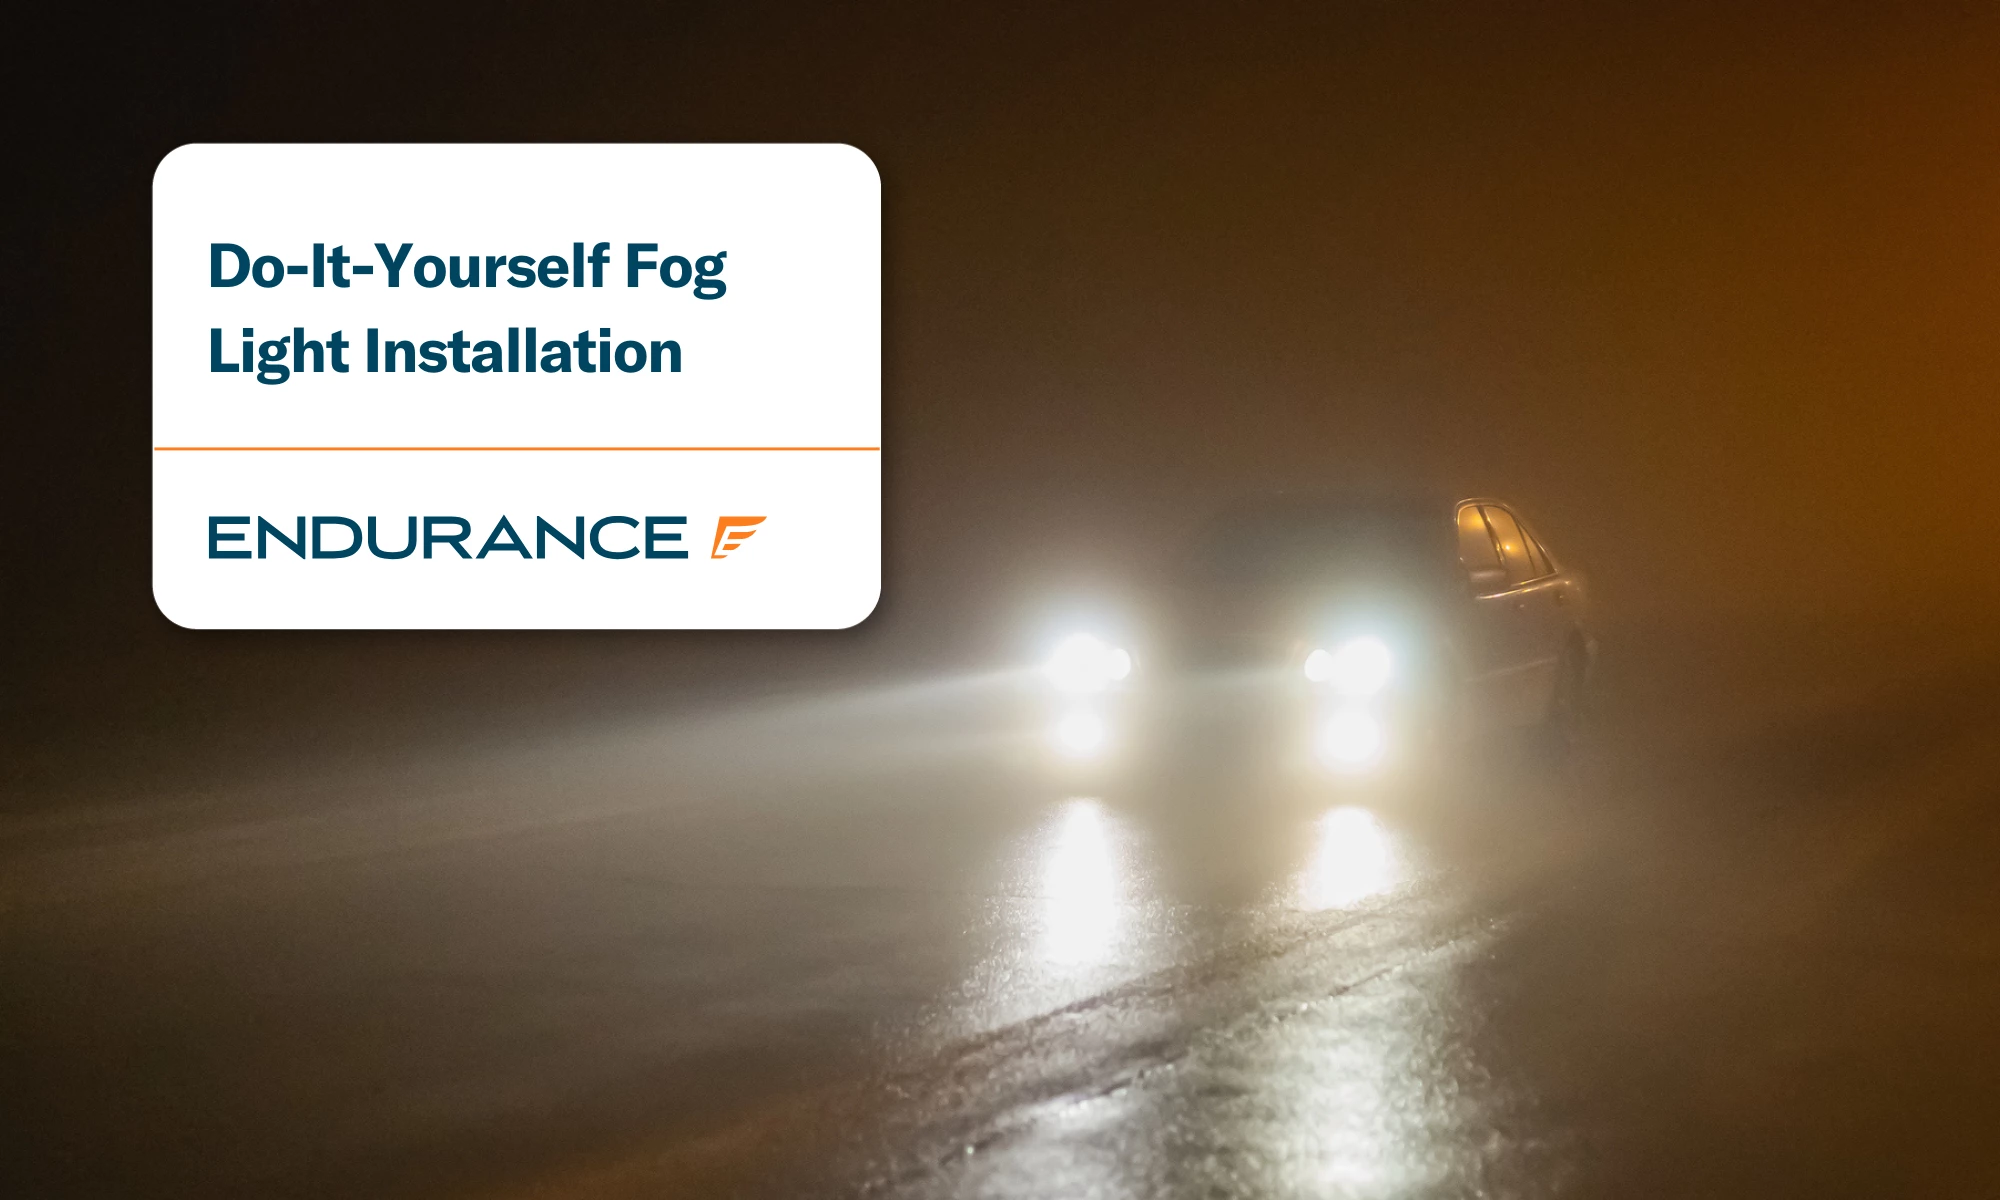
While spring brings a welcome turn in the weather conditions, it also creates foggy mornings, which aren’t ideal for safe driving. Aptly named, fog lights can help with the problem. These supportive lamps provide better illumination during foggy conditions than standard headlights. While fog lamps are standard or optional from the factory on increasingly more cars, not every vehicle is equipped with this upgrade. With this in mind, we’ve compiled a guide to walk you through selecting, installing, and maintaining fog lights for your vehicle.
Fog lamps are specialized lighting units usually mounted below the front bumper. Fog lights function differently from regular headlights and other driving lights, which can create glare by reflecting illumination off the water droplets present in the fog. Quality fog lights that are correctly installed are designed with specialized characteristics:
Standard headlights are engineered for normal nighttime driving but are ill-suited when encountering fog, rain, snow, or dust. In these situations, these minuscule particles are suspended in the air, creating a wall of reflected light that reduces visibility. Fog lights counteract this problem by illuminating the road surface (not the road ahead), allowing the driver to see lane markings, road edges, and potential hazards.
Here’s an overview of three popular fog light options and their respective advantages and disadvantages:
| Fog Light Type | Pros | Cons |
| Halogen | Affordable
Warm yellowish light penetrates fog effectively Easy to replace and widely available |
Higher power consumption than newer alternatives
Shorter lifespan (500-1000 hours) |
| LED (Light-Emitting Diode) | Extremely long lifespan (25,000+ hours)
Low power consumption Instant-on capability Resistant to vibration and damage — excellent durability |
Higher initial cost
Can be too bright if not aimed correctly |
| HID (High-Intensity Discharge)^ | Extremely bright output
Good penetration in fog, rain, and snow Moderate power consumption |
Requires ballasts and complex wiring
Higher cost than halogen options Slight delay when turning on |
^HID fog lights with a color temperature above 6000K (bluish-white) are less ideal for foggy conditions due to their high light output, which can create excessive glare. Look for units that operate in the 2500-3000K (yellow) or 4000-5000K (white) range.
There’s no right or wrong in choosing the type of fog light — it all depends on your driving experience, environment, and budget. If dense fog is a common driving condition, then spending more on LED or HID units may be a worthwhile investment over the long term.
Have the right tools and supplies on hand before starting any DIY project. To install fog lights, you’ll need:
Tools
Materials
Review your vehicle’s specifications before purchasing a fog light kit to ensure compatibility. Some cars have pre-wired harnesses or pre-existing mounting points to simplify installation. Other vehicles may require more elaborate custom work.
PRO TIP: Take pre-installation photos of applicable areas for reference as needed
While installing fog lights is a straightforward project, there are still opportunities for errors. Here’s what to watch for:
Now that you’ve made the effort to install fog lights, you’ll want to keep them in good operating condition. Follow these maintenance steps.
A car’s electrical system is complex because it interacts with many vehicle components, making some repairs challenging and expensive. According to RepairPal, a new alternator costs $664 to $879, while replacing a starter motor costs $455 to $629. Diagnosing and repairing wiring problems can run into the thousands.
An extended warranty (also called an auto protection plan or vehicle service contract) can protect your car’s electrical system, keeping the cost of unexpected repairs in check. Endurance electrical system protection starts with the Secure Plus plan, which safeguards core, factory-standard electrical components like the starter motor, electronic ignition module, and engine wiring harness. There are options that expand electrical system coverage, including for high-tech electronics such as the infotainment system. The Supreme plan is most similar to the manufacturer warranty that accompanies a new car, offering protection on most vehicle systems and parts.
Learn how to protect your car’s electric system and more with Endurance Warranty. Request a FREE quote or visit the Endurance online store for instant plan and pricing information. Endurance plan advisors can be reached by calling (800) 253-8203.
Explore our extended warranty blog for a vast library of articles covering car care, DIY tips, repair advice, vehicle reviews, and more.
We've received your vehicle information and will contact you shortly with your quote.
— OR —
Start shopping for a coverage plan now.


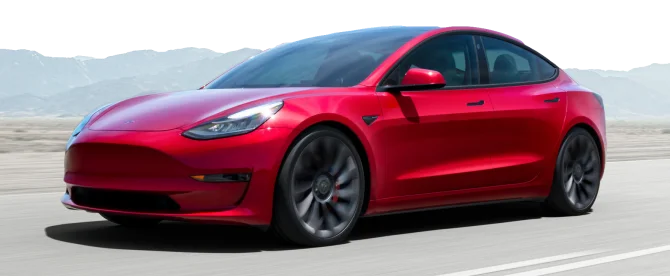
We're here to make sure you get the most comprehensive EV protection. That's why we've partnered with Xcelerate Auto to offer you transparent and dependable Tesla coverage.
Want us to contact you about XCare coverage for your Tesla?

Your protection is our top priority. Your quote is in progress and you will
receive a confirmation
email shortly.

Speak with a vehicle protection plan specialist and get $300 off any new contract instantly.
Call for $300 off any new plan!
By clicking the button, you consent to Endurance using automated technology to call, email, and text you using the contact info above, including your wireless number, if provided, regarding auto protection or, in California, mechanical breakdown insurance. You also agree to the Endurance Privacy Policy and Terms and Conditions. Consent is not a condition of purchase, and you can withdraw consent at any time. Message and data rates may apply.
Speak with a vehicle protection plan specialist and get $300 off any new contract instantly.
Call 866-678-4172
or scan the code below

Simply fill out the information below and we will follow up fast with your free no-obligation quote.
By clicking the button, you consent to Endurance using automated technology to call, email, and text you using the contact info above, including your wireless number, if provided, regarding auto protection or, in California, mechanical breakdown insurance. You also agree to the Endurance Privacy Policy and Terms and Conditions. Consent is not a condition of purchase, and you can withdraw consent at any time. Message and data rates may apply.
To speak to a vehicle protection plan specialist and save $300
Scan the code below


Since the age of 16, Keith has been immersed in the automotive industry, beginning his career by helping his dad fix vehicles at a young age. Keith now owns his own family-run, ASE Certified repair shop, A+ Autocare. At his shop, he focuses on building trusting relationships with his community through exceptional customer service. Read more about Keith.